
Oh whats that? A palm sized hole in the kitchen wall!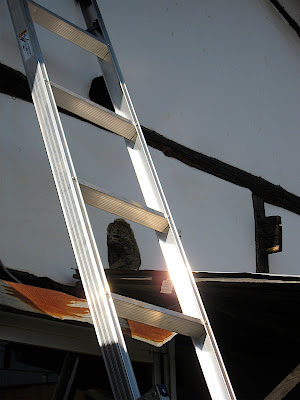
We aim to use mostly natural building materials, both to be sustainable and also to save cost. So from last weekend works efforts there remains a pile of mud wall, ready mixed: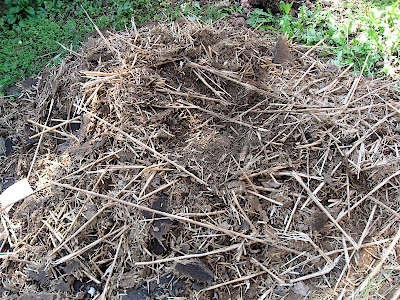
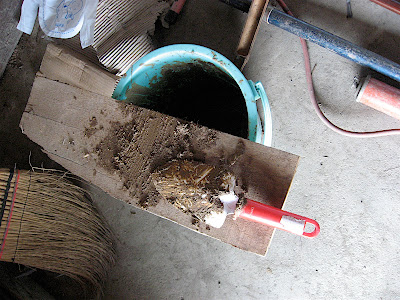
I put a few shovel ful into a bucket and added water. it took a little experimenting to get the right relation of water vs mud straw mixture. The key point is that the small shovel should remain standing on its own when stabbed into the mix. At first I had too much water - the thing kept standing but when applied the mixture just ran away. Add more mud.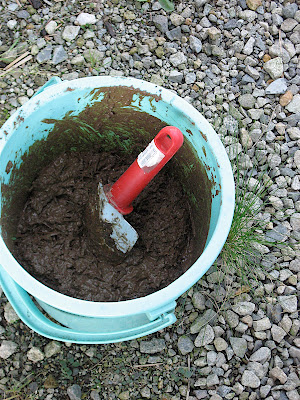
This is the wall from the outside after completing the inside patch. Before slamming on the mud mix, I placed two bamboo sticks and chicken wire in the middle.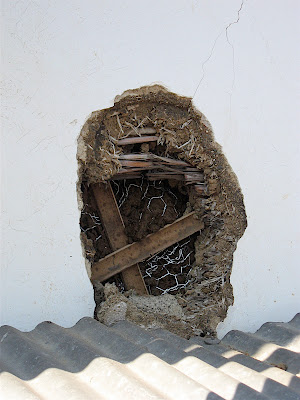
This is how it looks from the inside: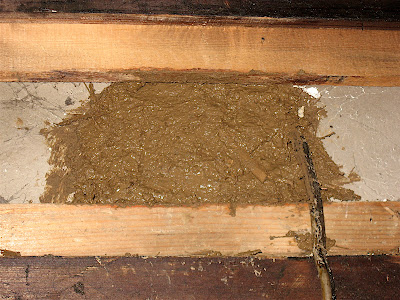
It worked so well that I took on huge gaps above the windows in the south wall. Again placed some chicken wire and then scooped on th mud-mix. Wasps, hornets and spiders - fare well!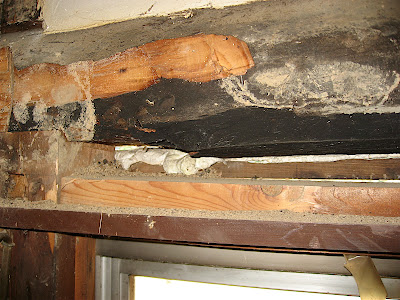
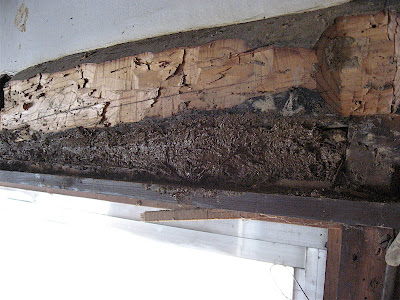
Nice work: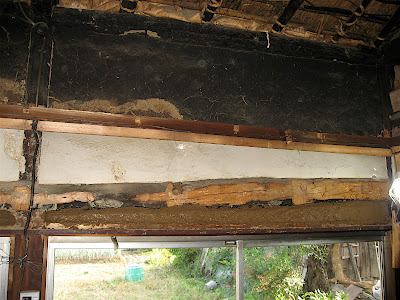
Monday 8 October 2007
Mud-wall recycling experiment
Naked kitchen
Tackling the kitchen required some of the same skills and techniques used on the other rooms to remove the ceiling. Because it was relatively low, I had no problem getting it out. 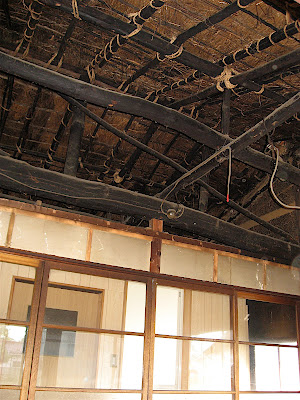
However, in this room walls were wood paneled and covered with disgusting layers of cooking fat, oil and grease. There was no other way, they had to go too. Because the kitchen had a very low ceiling, we want to put it down onto ground level, and just finish the floor with concrete, like the entrance area. So I also had to remove the (ugly) wooden flooring.
The kitchen stripped (nearly) naked: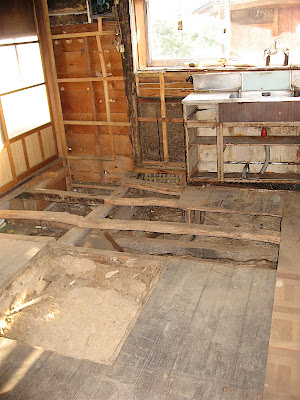
It appeared that the walls to the outside were made up of the the thinnest possible material, then an empty space, then the paneling. Because the outside is riddled with many cracks and holes, those cavities provide excellent habitats for bees and wasps... definetly have to do something about them! An internal wall was made with a gypsum plate.
Removing the floor paneling revealed another fire place. A second layer of weight carrying boards was revealed. Below those, a collection of old beams and provided a fixing place. I couldn't move the sink on my own, so it has to go some other time. In the mean time I used the CHAINSAW, to reveal the ground just in front of it. Getting the floor boards up is quite a job because so many nails are used.
The previous owner left a surprise for me: Below the floor boards - a load of rubbish! 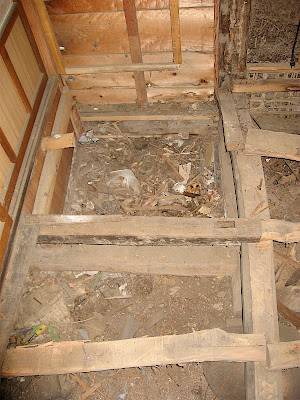
As I took this photo I already filled two garbage bags with the thrash. I found some evidence of small mamal habitation, but judging by tiny skelletons and absence of food, they are long gone.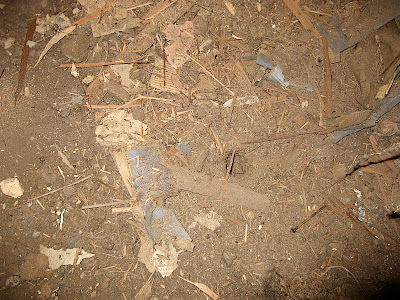
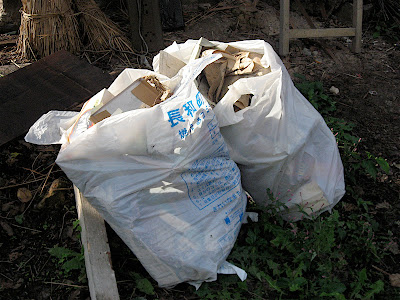
There is still some rubbish to be cleared next time: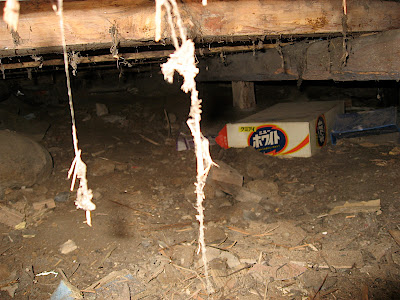
Follow Up Photos
This is just a follow up to last time's videos. It was not really easy to see the result of the hammering, so here two pictures. Before taking them, I spent some time cleaning up the dirt (three big rice sacks full), and making a start with the dust. Unfortunately its difficult to get rid of the dust, because its so light, and floats around the room. Maybe next time I will take a humidifyer with me and an air purifier with minus ion. Once they are clumped up together they will get heavy enough to stay on the ground and can then be hoovered up.
From the West side: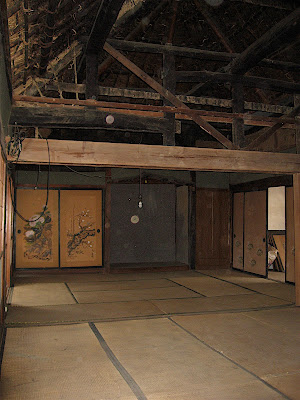
From the East side: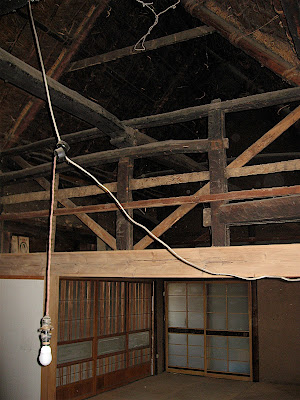
What remains to be done in this room, is to scrape off the coloured coating on the lower walls, remove some unnecessary wooden planks, clean all beams and remove as much dust as possible and finally add new walls in northern side (instead of the sliding doors).
