
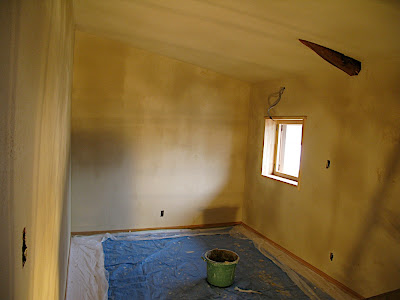
Bedrooms and kitchen are made from boards that are not suitable for mud plaster. Thats why we used a commercial, but natural plaster instead, and asked our contractor to arrange the application. The team of three came in and quickly transformed the rooms:
Before:
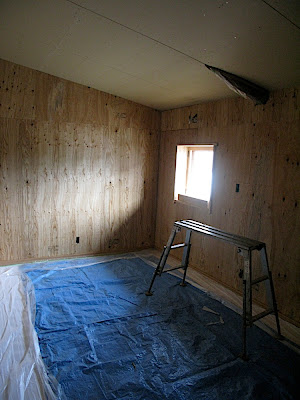
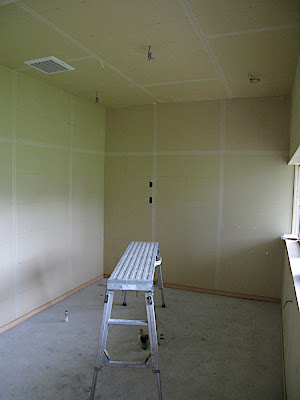
In between: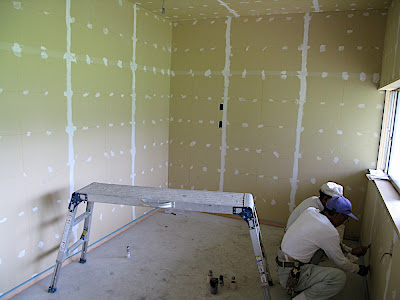
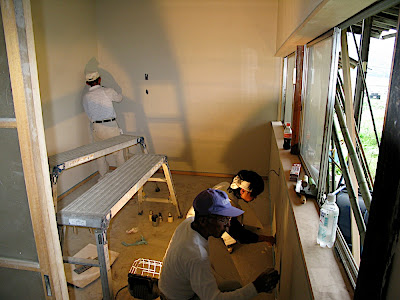
After: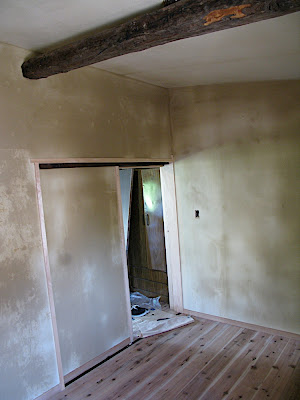

Showing posts with label plaster. Show all posts
Showing posts with label plaster. Show all posts
Thursday, 26 June 2008
The builders come in

Monday, 16 June 2008
Straw Roof Finished, Floor uncovered & Window front OK
Just some photos of the house.
Kobayashi has finished the roof and done a marvelous job. Last time I saw it it was all rough, but he went in with a hedge cutter, and now its really nicely trimmed, and looks sharp!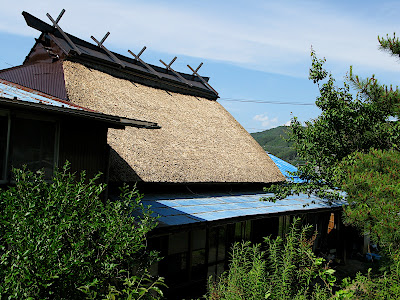
He also replaced the metal structure on the top and painted it a more pleasant brown, as opposed to the striking red we had before.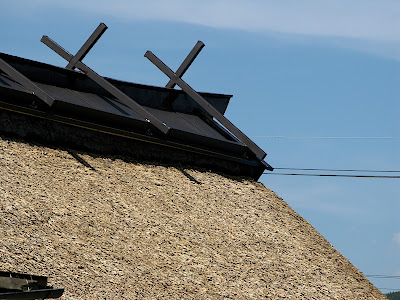
On this view you can still see the light blue on the metal roofs. I need another sunny day to finish painting it.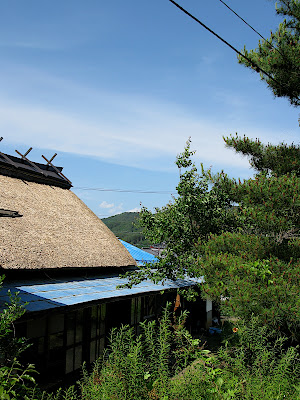
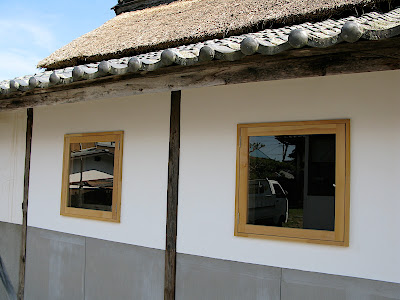
The Kabeya-san, finished plastering after Kunihara-san put the windows in their frame - it looks fantastic!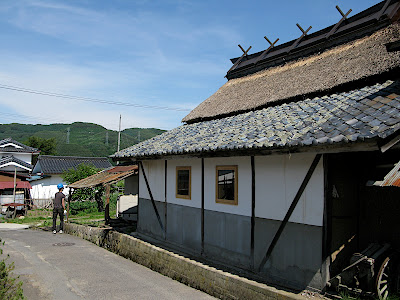
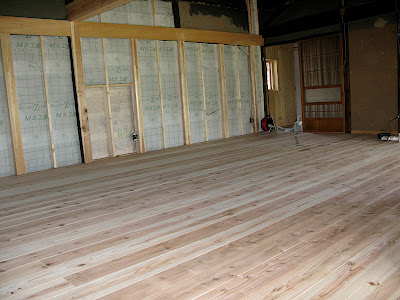
Having basically completed his work, Kunihara-san uncovered the wooden flooring and put all shoji's and doors in (I took a photo of Shojis too late in the day and it was too dark). 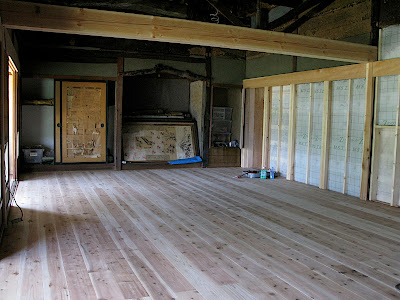
Monday, 12 May 2008
Soilogogy - finding the right mix
Having obtained the clay rich soil, it is now necessary to find the right mix to use it for our walls. We need it as both infill, but also consider it as a finish for some walls. A useful mix can be obtained by combining clay, sand, fibre and water, alas the optimum combination is difficult to find as the clay content and type varies. I therefore tried our different combinations on a spare wall.
This Video shows the mixing process:
The mixtures:
1. Sand 0 handfuls, red earth 10 handfuls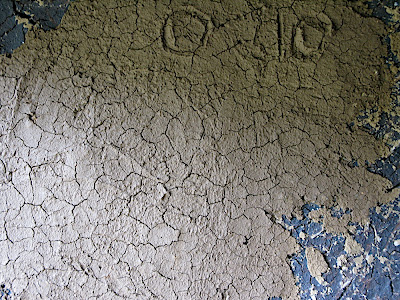
This mixture was nice and sticky but developed large cracks after drying.
2. Sand 5 handfuls, red earth 10 handfuls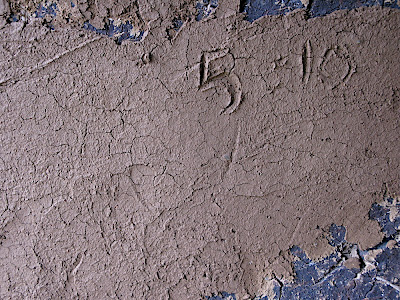
This mix was also nice sticky, but cracks still occurred even though less than the previous mix.
3. Sand 10 handfuls, red earth 5 handfuls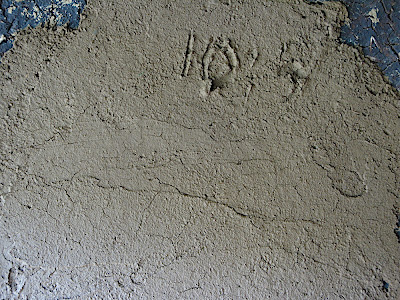
By having double the amount of sand compared to red earth, cracking could be removed strongly. However, they are still present.
4. Straw 4 hand bushels, Sand 5 handfuls, red earth 10 handfuls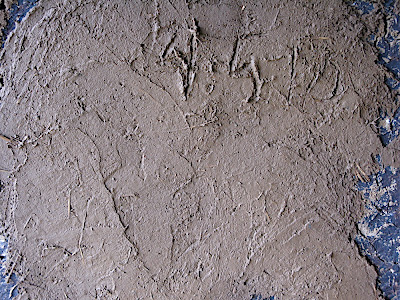
This mix hardly developed any cracks, thanks to the added straw.
Overall I think I used too much water in the mixes, and next time I will try to measure the amount of water going in. I would also like to see what will happen when I use finer sand, or use shredded paper (from the office) to add texture.
When applying the final mix to our walls, we should usually use several layers. The first one can be crude, and cracking may actually help the next layers to bind and stick better. Top and finishing layers should be smooth, so that water cannot erode the wall.
Monday, 26 November 2007
Patching up cracks
As mentioned before the house has many openings which allows both wasps and wind to enter the house. Most of the problem seems to be caused by shrinkage in the wall's mortar mix. According to my study on the subject, either clay or water content was too high. Some of the shrinkage is up to 2cm. 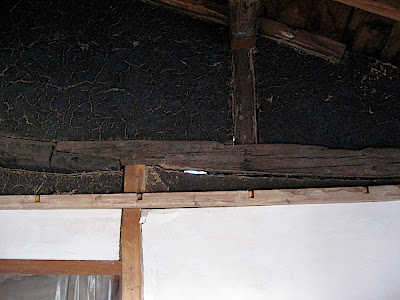
This photo shows the sky seen through the gaps in the wall from the inside.
I bought some sand at a local DIY shop, and mixed it with the soil sample I took from the forest earlier. Than I added some straw from my September weed-battle.
Sand: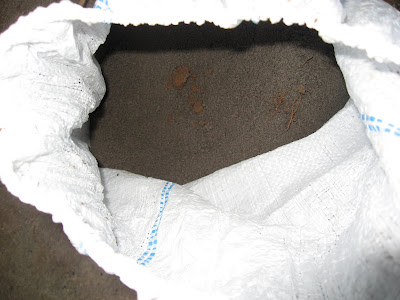
Soil with high clay content: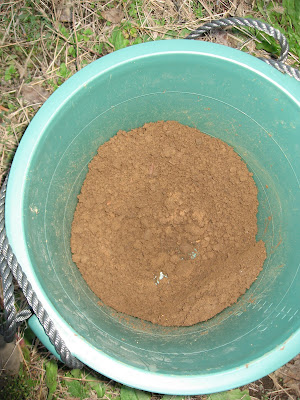
Mixed together: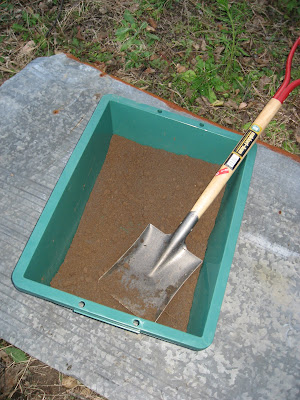
I added the straw from the back to make it stickier.
As the mixture was ready, I deployed it in the North Eastern bed room to seal the cracks. With a small trowel, I pushed and pressed the mix into the gaps, smoothing it at the end.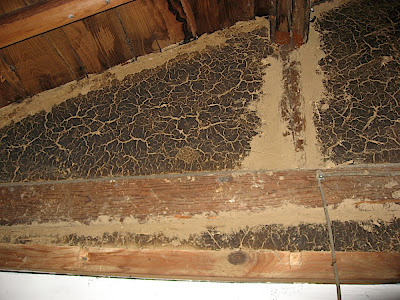
Its not pretty at this stage, but it does the job, and later on a beautiful surface layer will be apllied over this rough layer anyway.
Subscribe to:
Posts (Atom)
