
Do you remember the ugly shed in front of our house? The previous owner used it to store 10years of rubbish in it, and it gave shelter to a surprising diversity of wildlife and plantlife.
Anyway, we have decided that it should go, and instead we use the space for bar-B-Qs.
Kunihara, san sliced it open with a chain saw, to extract the contents>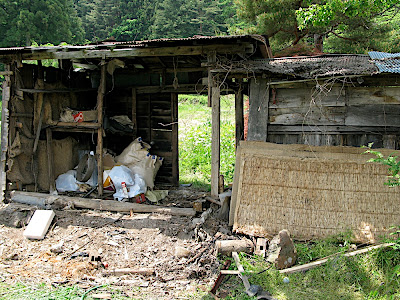
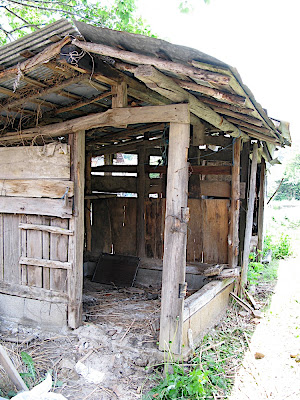
Then Junior knocked it about with a hammer while senior gave it a good shove from behind.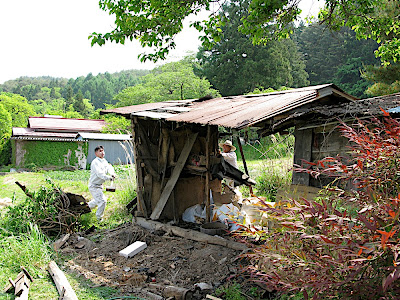
Finally the thing went down, and ready for disposal. The bad news is that an extended mouse colony now has to find new a new home!
Saturday, 24 May 2008
That shed must go
Bricks - OK!
I checked the bricks that we produced during our last visit. they are actually very good!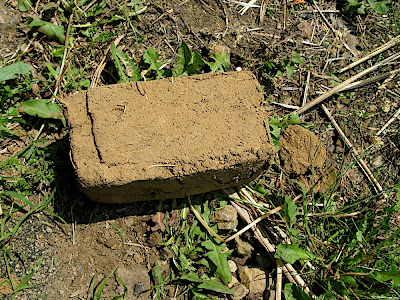
I picked them up and they are solid, heavy and do not crumble. I could not find any cracks on it!
Next I checked the inside for dryness by knocking off the top: absolutely dry, no internal cracks either. Fantastic- we are ready for mass production.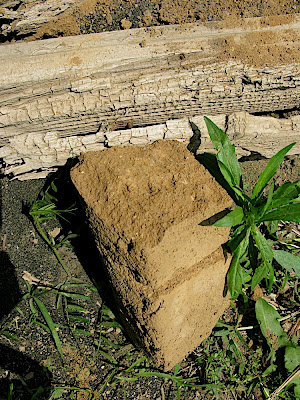
Monday, 19 May 2008
Other Progress
Kunihara-san has proceded with the entrance area. Instead of the large window that could not be closed, we asked for a normal sized pair glassed window.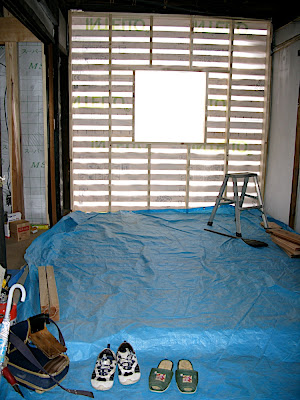
This is how it looks from outside.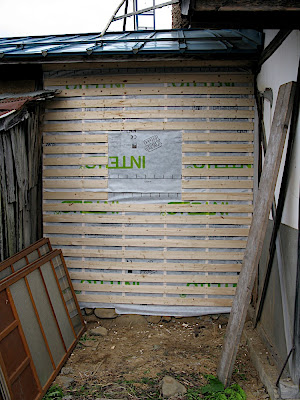
Someone came and applied a mortar finish on the northern facade...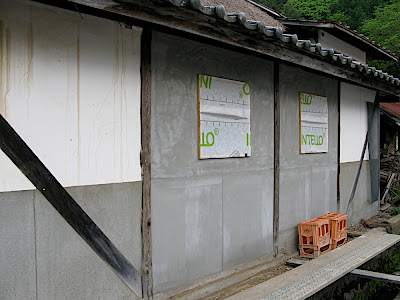
... as well as the eastern (kitchen) side.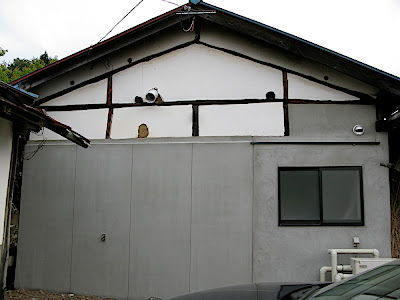
Blue Paint Scrub
Besides making bricks, our second focus today was get started on the cleanup of the metal roof covering entrance, kitchen, toilet and bathroom.
Peter Amor and I got up on the roof and first started scraping off old paint, and going over the roof with metal brushes.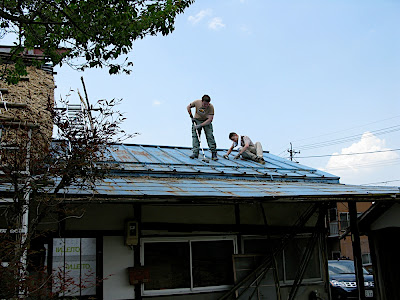
The remnants of the old paint was difficult to get off, so we only tried to clean up around the rusty spots, but even only that was a lot of work.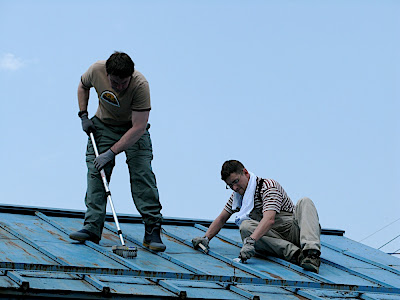
A great sunny day - but it was very hot on the roof!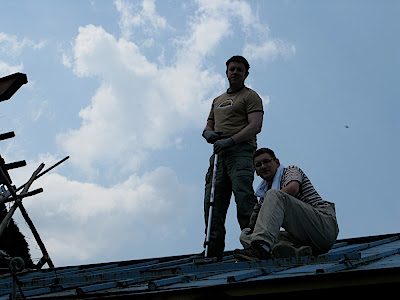
The Kunihara's were working inside, and whenever they came out they had to laugh about our effort. We had tea together near the open window, an excellent way to enjoy such a pleasant day.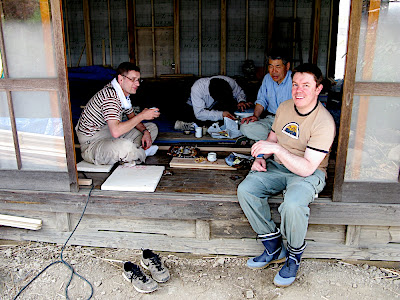
Back to work, we started putting on paint. The instructions say that you should start with the edges and seams, and then to the space between. As we were two people, Peter used a large sponge for the flat bits, after I painted every seam.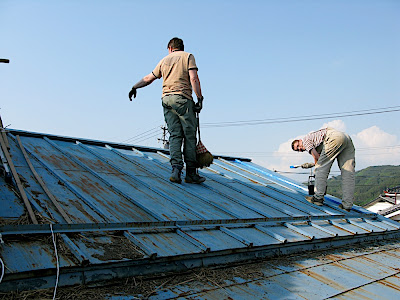
For the Moment we kept the blue colour, so that we can avoid painting the entire roof, and just to quickly finish sealing the roof before the rainy season starts. Maybe next time we will try a darker brown colour on some patches to see how it looks. Because the paint is not so expensive, we could always use a nice day to change the colour later.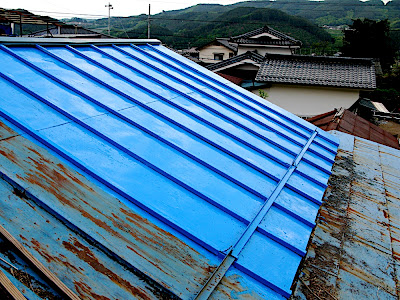
We could not complete the entire roof, because there is still some scaffolding for the straw roof in place. In any case we ran out of time, as we still had to drive back to Tokyo. Perhaps next time we can tackle the lower roof, and finish the remaining bit on top.
I don't know how they did it, but for some reason Peter and Victor managed to get themselves covered with blue paint all over the place. This is particularly baffling in Victor's case, as he only spent about 30 seconds with the paint can. And for some reason his hands stayed blue even after the Hot-spring!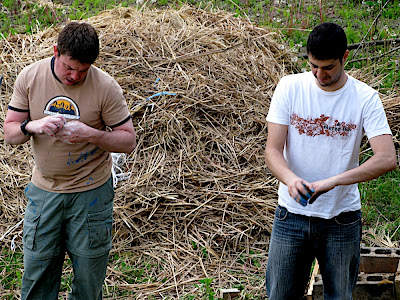
Mud Bricks
Following last weeks experiments with the newly acquired red earth, this weekend we took the next step in trying to make bricks from mud.
Victor, a Venezuelan friend from University (and a construction manager in his normal life), gave us a hand this weekend.
To create mudbricks, we have to figure out the best combination of clay rich red earth, straw and sand, mix it and then slam it with force into a brick mould. Victor can be seen here taking measurements of the wall, before deciding what size to use for the bricks.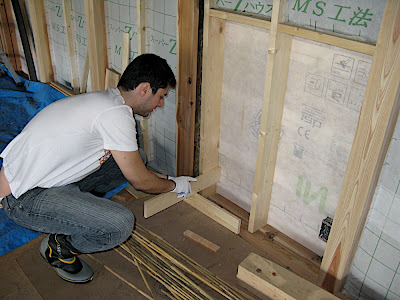
This Movie shows amongst other how the mould is quickly made from wood planks, and then some bricks shaped. At first, the mixture had too much water so that we could not use it for bricks. The second time we found a better mix: 1.5 parts red earth, 2 parts sand, a few handfuls of straw and 3 cups of water. Unfortunately I forgot to press the record button on the camera, so we have only very little slamming action by Peter.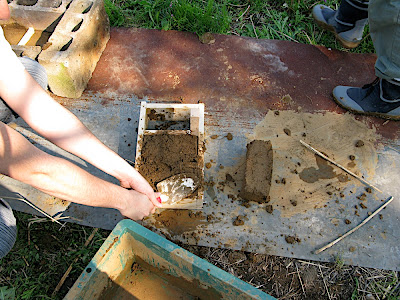
Three lovely bricks! They look alright as they are, but the question is how much cracking will occur with drying.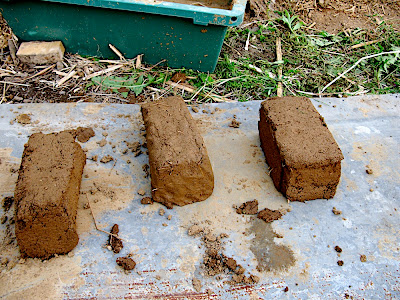
Monday, 12 May 2008
Soilogogy - finding the right mix
Having obtained the clay rich soil, it is now necessary to find the right mix to use it for our walls. We need it as both infill, but also consider it as a finish for some walls. A useful mix can be obtained by combining clay, sand, fibre and water, alas the optimum combination is difficult to find as the clay content and type varies. I therefore tried our different combinations on a spare wall.
This Video shows the mixing process:
The mixtures:
1. Sand 0 handfuls, red earth 10 handfuls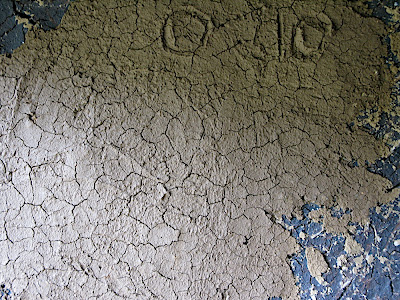
This mixture was nice and sticky but developed large cracks after drying.
2. Sand 5 handfuls, red earth 10 handfuls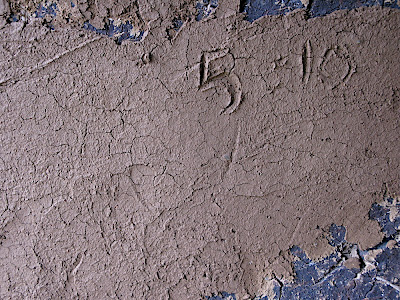
This mix was also nice sticky, but cracks still occurred even though less than the previous mix.
3. Sand 10 handfuls, red earth 5 handfuls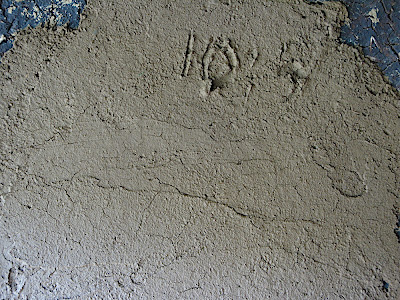
By having double the amount of sand compared to red earth, cracking could be removed strongly. However, they are still present.
4. Straw 4 hand bushels, Sand 5 handfuls, red earth 10 handfuls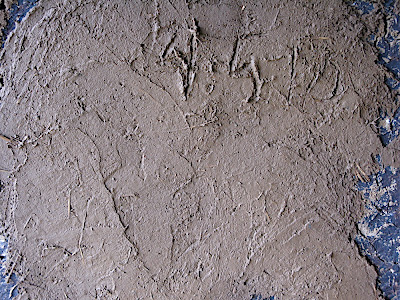
This mix hardly developed any cracks, thanks to the added straw.
Overall I think I used too much water in the mixes, and next time I will try to measure the amount of water going in. I would also like to see what will happen when I use finer sand, or use shredded paper (from the office) to add texture.
When applying the final mix to our walls, we should usually use several layers. The first one can be crude, and cracking may actually help the next layers to bind and stick better. Top and finishing layers should be smooth, so that water cannot erode the wall.
Mud Volunteers
Our plan for Saturday was to secure some quantities of clay rich red soil, that was used by villagers to build their houses in the old days. Even though earth was thought of as a building material for the poor, contemporary architects do (re-)discover more and more benefits of using this natural material in modern houses.
For us, the main arguments or this material are
1. Cheap - just pick it up by yourself, no payment needed.
2. Eco-friendly: can be found nearby, so little petrol required for transportation. Can be recycled or disposed after use without any ill effect.
3. Easy to use. Simply mix up and apply to walls.
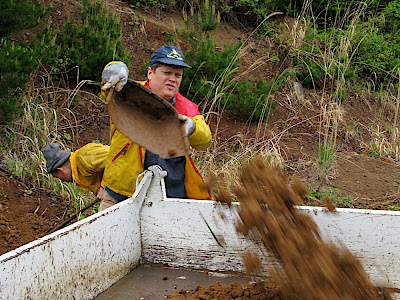
We first obtained official permission, and then went to the spot in the forrest designated by the officer to pick it up. As you can see the inakahome volunteers Peter and Thomas look more than happy to dig in the mud on a rainy day.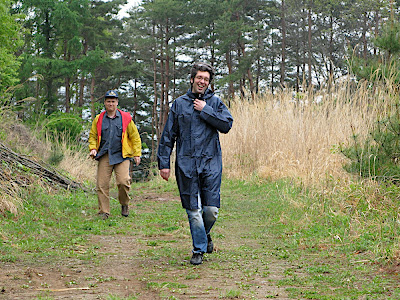
Even Yanagisawa-san gave a hand in the digging. The earth on this slope was really clumpy, which is evidence of a a high clay content.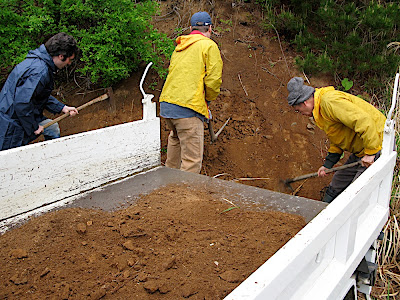
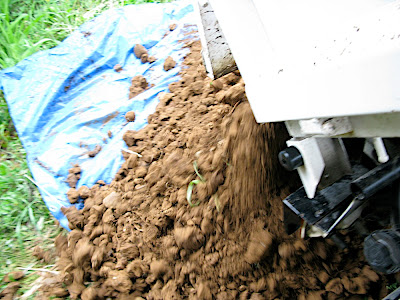
We hired a little k-truck to transport soil to the house. Because the hydraulic pump could only handle small loads, we made sure not to pile the earth higher than 15 cm.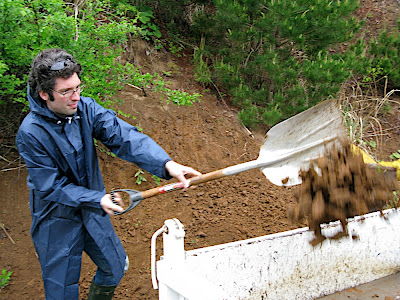
Because of this weight limit I had to drive three times to get a good quantity of soil to the house. There we dumped it on a plastic tarp, for further processing.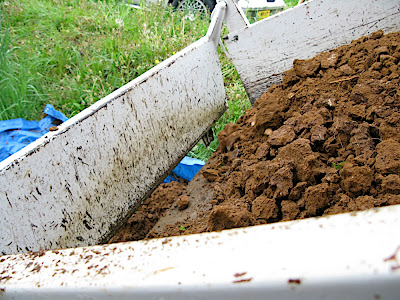
Surprise: Thatching already started!
I received a surprise call from our carpenter. He informed me that Kobayashi-san, the thatcher had already started to work on the roof without telling us! So immediately I organised a car and drove up to the house, equipped with photo and video. Luckily I had a chance to capture some finishing steps of fixing the roof.
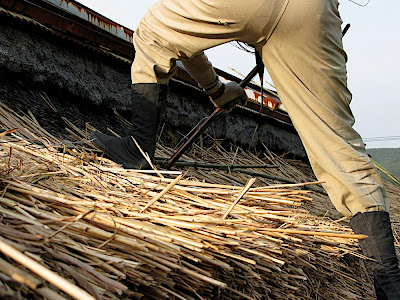
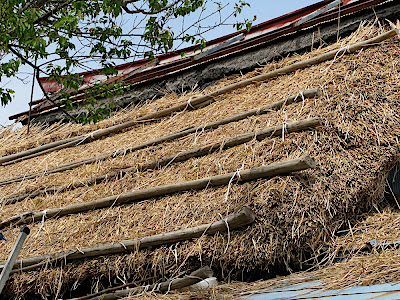
During the last days, he and one helper lifted up the old straw, and inserted new bushels underneath, starting from the bottom, and working their way higher up. The straw was temporarily fixed, and then the proper needling started:
1. Get up the roof. Despite his over 70 years of age and painful hip, Kobayashi-san moves easily around on the roof, using some wooden poles for support. 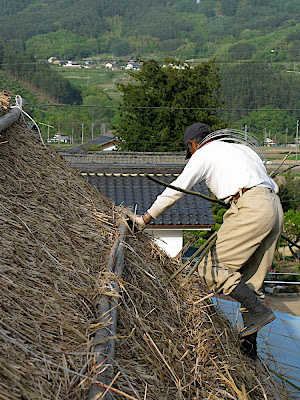
2. Ready your tools. Kobayashi-san has cable for fixing the straw bushels, as well as a long bamboo needle with him.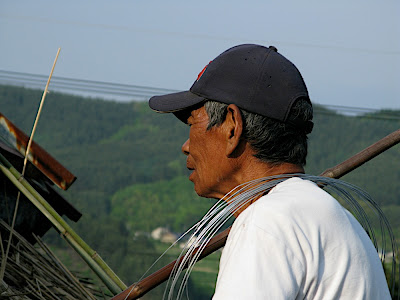
3. Thread the cable through the eye of the needle.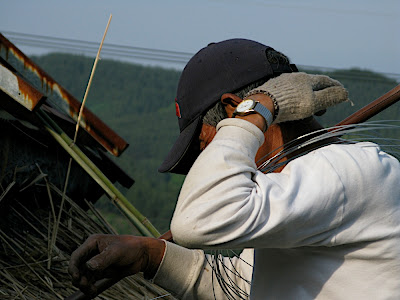
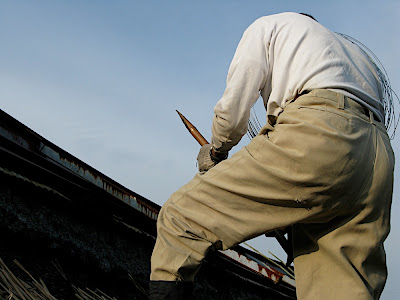
4. Thrust the needle through the bushels to the inside.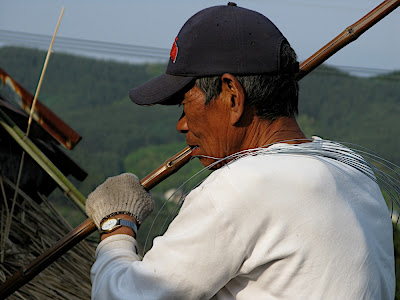
5. A helper inside takes out the cable, wraps it round the wood, and returns it to the needle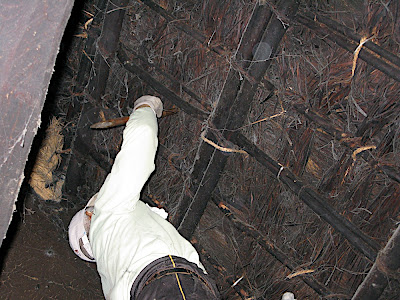
6. After the needle is pulled out again, the cable is cut and tied.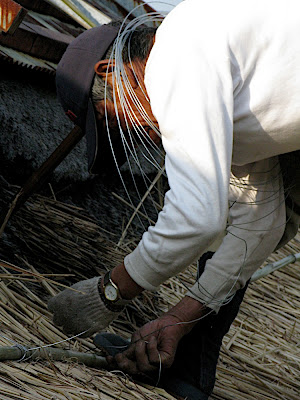
It was a nice warm, sunny day and so I could enjoy being up high on the roof to take photos.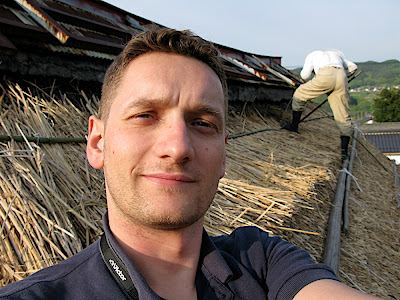
The South face is nearly completed, only a few adjustments needed on the top, as well as a final trimming, and paint job on the top metal structure.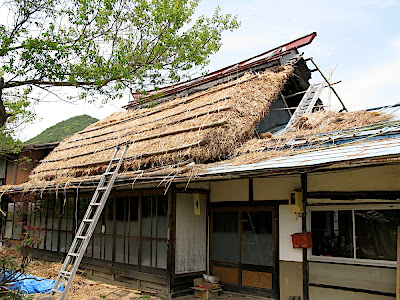
Battle with Bamboo
Yanagisawa-san kindly allowed me to use "as much bamboo as I want" from his little bamboo grove. I thought it could be useful for some of our construction work, and we could use it to create a lattice in the walls for applying mud mixture (using the wattle and daub technique that is common for this kind of old building) .
However, no one had cared for this grove for a long time, and as a result it was difficult to walk about. When I moved in, I was instantly attacked by nasty twigs in face height, slippery dead poles on the ground and inconveniently located dead poles barring the way. While I defended myself valiantly with a bamboo saw and a kind of Japanese axe/knife tool, I was constantly harassed by skirmishing flies and mosquitoes.
In the end both parties were able to claim victory: I succeeded in establishing an landing zone (clearing), and securing a few poles (shown in the picture) before redeploying, while the enemy inflicted heavy scratches on my arms and face and forced me to withdraw (temporarily) to regroup. 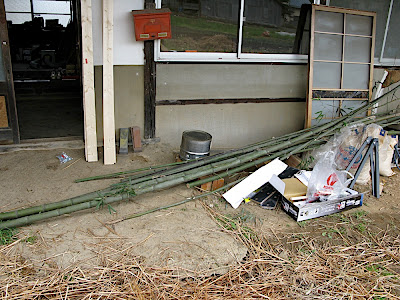
To be continued ...
Subscribe to:
Comments (Atom)
