
This weekend saw me coming up supported by PeterO, my wife Yuko, and my kids Maya(4) and Sean(5mths).
Peter and I tackled the heavy work straight away - we mixed up dirt, stamped it to a nice plaster and slapped it into four wall panels. We were so hard at work for the second half of the day, that we couldn't take any photos or video. Anyway, this is the view on the next day: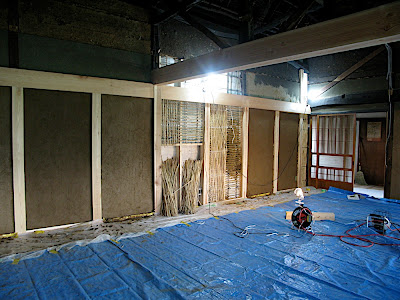
A little bit on the right remains, and one full panel in the centre right. We ran out of daylight, sand, reed sticks so postponed the remaining work to the next time. The centre left panel will be filled by mud bricks at the bottom, to store heat.
On Sunday, Yuko, Maya and I took off paper windows from the Shojis. Usually this is pretty simple and quick work if done properly every year, however it looks as if the previous owner 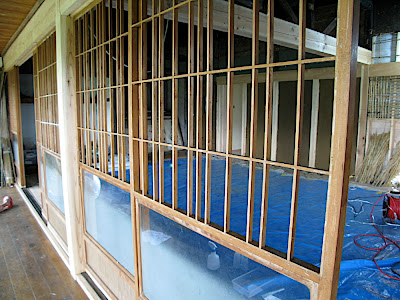
Maya was also interested in studying the local wild life, and took a sample of the local fauna:
Monday, 30 June 2008
4 Earth Panels, Shoji Cleanup and some Worms
Thursday, 26 June 2008
TV Crew
On Tuesday, Tomo popped round with a film crew from CNBC Europe. Johanna, the producer and Karelle, the cameraman, flew in from London to interview Tomo for a program featuring young international entrepreneurs. He persuaded them to do the filming at the house, and they were rewarded with good weather and some nice countryside footage.
This shows them filming Tomo at "work", or more precisely, inspecting Peter and my Work ;-)
The interview was conducted outside, with the house as a backdrop. Unfortunately I couldn't take a photo, as I held the microphone boom over my head to provide the sound. I was incidentally filmed too, mixing mud and applying it to the wall.
As far as I understand, this program may be shown on star alliance as inflight entertainment, so keep you eyes peeled next time you use one of their airlines.
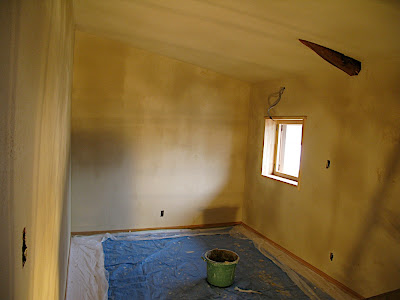
The living room wall
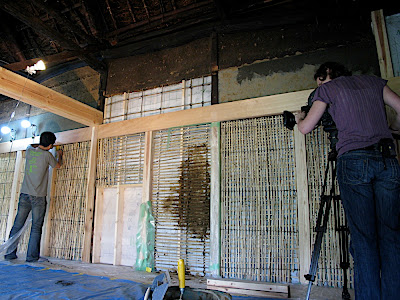
After receiving advice and instructions from the expert Kabeya-san, we straight away got onto the job of producing the lattice. For that purpose, thin bamboo sticks are placed into the horizontal and vertical axis of the frame. First a hole is drilled on both sides, then the a stick that was cut to the right size is flexed into them.
Next a pair or three sticks of reed are tied up against the vertical bamboo. Between the reeds bundles a space of two fingers should remain.
This photo shows Peter at work tying them up.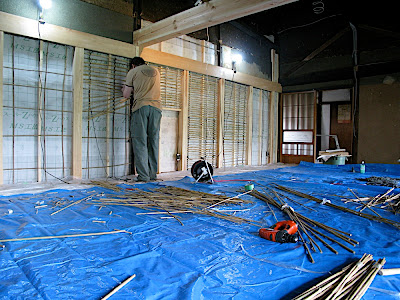
After the horizontal is complete, next vertical reeds are added in a similar manner, this time leaving only one finger space between.
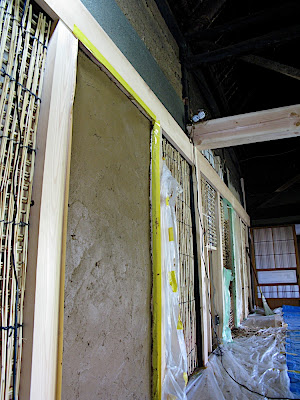
Finally, the mud plaster can be applied.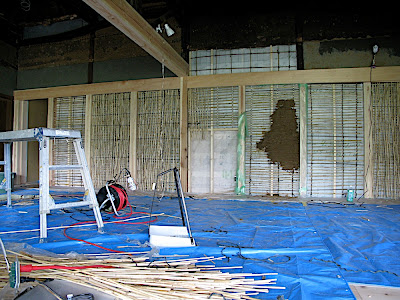
The whole process is shown in this video. 1st - drill holes and place the bamboo, 2nd Tie them up, 3rd - add plaster:
Because that tying up took a while, I could only start on the mud plaster pretty late this weekend, and finished only one panel before returning to Tokyo.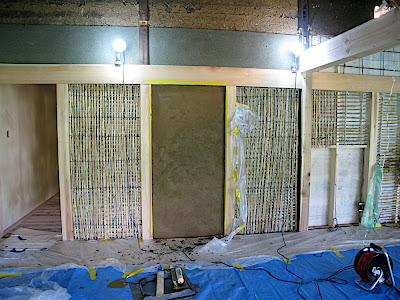
The result looks presentable, although the critical bit will be to find out how much cracking will occur on the mud. A little will be ok, as there needs to be another layer of finish that will cover up cracks.
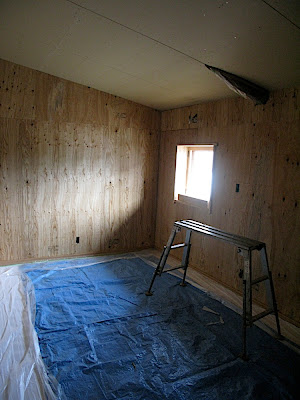
The builders come in
Bedrooms and kitchen are made from boards that are not suitable for mud plaster. Thats why we used a commercial, but natural plaster instead, and asked our contractor to arrange the application. The team of three came in and quickly transformed the rooms:
Before:
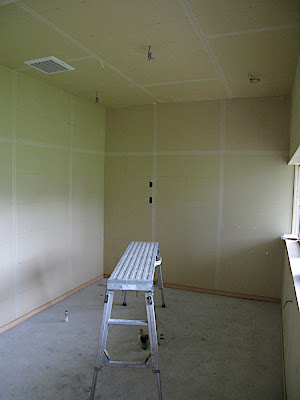
In between: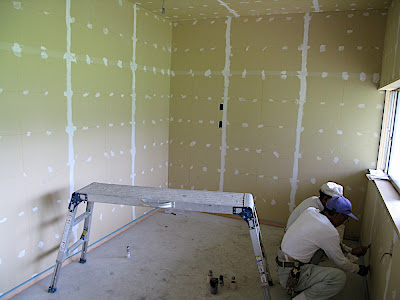
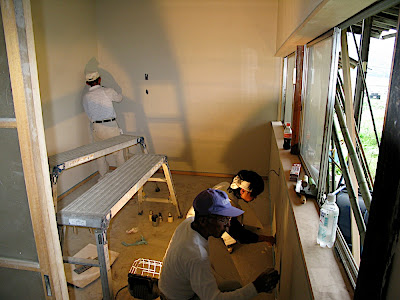
After: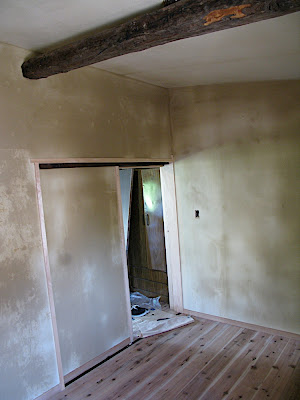

Monday, 16 June 2008
Arisaka Dirt-Shirt
I visited Kauai Island the week before last, and found that they sell dirt-shirts, that is T-Shirts that have been coloured by using the local mud which is of striking red colour. It has become a major tourist souvenir, and actually looks pretty appealing.
But I thought - why should I pay for this - I have my own red earth at inaka home! So I brought a white shirt and just tried it out.
This is the original website DirtShirt.com: 
Ok, and this is the Arisaka dirt shirt after proper soaking and wringing in real Japanese arakabe: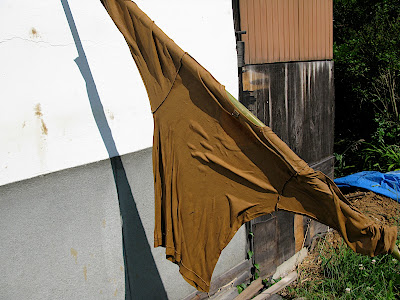
And this is after washing and wringing in cold water:
Looks pretty pleasant! I'll test drive it for a while, and if it stays as nice we'll produce a few for mail order. If you can think of a motto to print on the front, please share it with me.
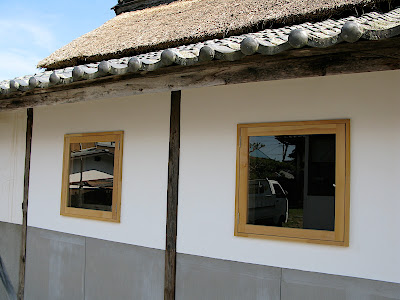
Straw Roof Finished, Floor uncovered & Window front OK
Just some photos of the house.
Kobayashi has finished the roof and done a marvelous job. Last time I saw it it was all rough, but he went in with a hedge cutter, and now its really nicely trimmed, and looks sharp!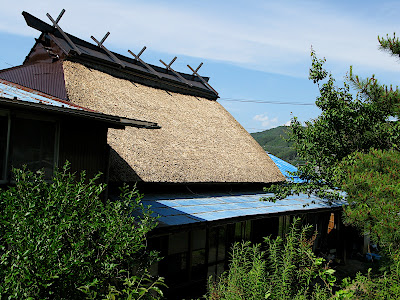
He also replaced the metal structure on the top and painted it a more pleasant brown, as opposed to the striking red we had before.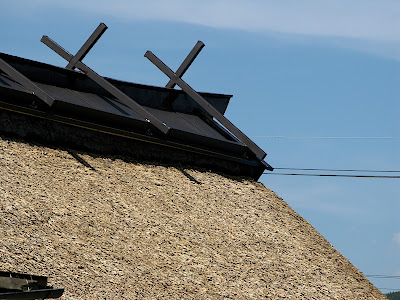
On this view you can still see the light blue on the metal roofs. I need another sunny day to finish painting it.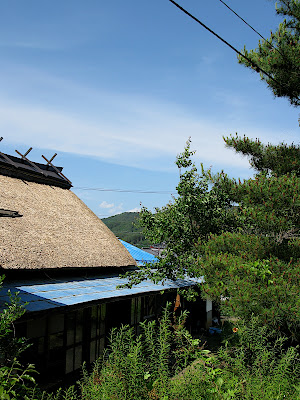
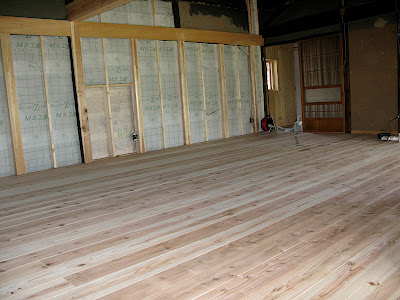
The Kabeya-san, finished plastering after Kunihara-san put the windows in their frame - it looks fantastic!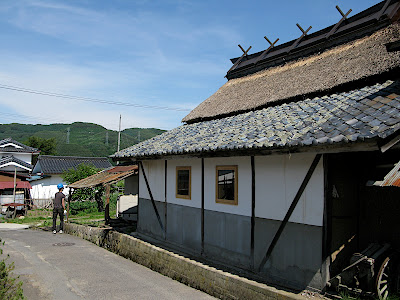
Having basically completed his work, Kunihara-san uncovered the wooden flooring and put all shoji's and doors in (I took a photo of Shojis too late in the day and it was too dark). 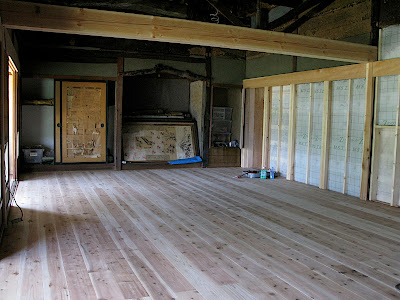
Cesspit and Crowbar
After spending half night working on the computer, why not get up after 3 hours sleep to head up to Inaka Home? I certainly cannot think of anything better!
We tackled two jobs:
1. Tomo used the crowbar to rip down the ugly garrage spoiling the northface of our house. The place is now clear for painting white.
Check out Tomo's hard triceps!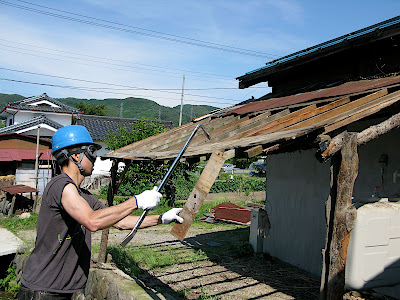
After:
2. The less glorious job has no photos. I ripped out pissoir and toilet bowl from the old shed. We had some piles of old earthwall lying about on the field that were removed by contractors. I moved that rubbel to the shed and filled up the cesspit with it. Of course it had been pumped empty before we bought in, but rain water has seeped in the mean time ... It was a pretty tough job as a lot of earth had to be moved!
