Showing posts with label mud brick. Show all posts

Sunday, 7 September 2008

Adobe wall with hidden secrets

This weekend saw the return of our eager volunteer Victor. If you think back to May this year, you may remember the episodes titled "Blue paint scrub" and "Mud bricks". In the latter, Victor helped us to make the mould for the mud bricks.

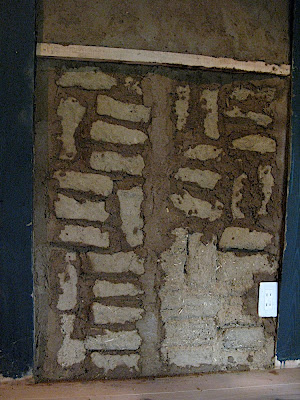
Now he was able to complete his work, by actually laying the bricks into their final location:


As you can see on this picture, a small section is laid out with solid mud bricks, to provide thermal mass in the centre of the room.
From 20070915


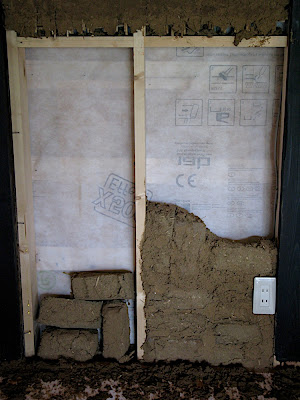
Behind the bricks, a small cavity exists, and not wanting to simply waste the space, we decided to put it to a long term use: We use it as a time capsule. That is, we place things from our time into the cavity, so that future generations may get an idea of what it was like in our days. To accomplish this goal, we purchased a selection of contemporary Japanese magazines and newspapers.

From 20070915


After quick handy work by Victor, the capsule was sealed until ...
From 20070915

Sunday, 24 August 2008

Shoji and - again - mud walls

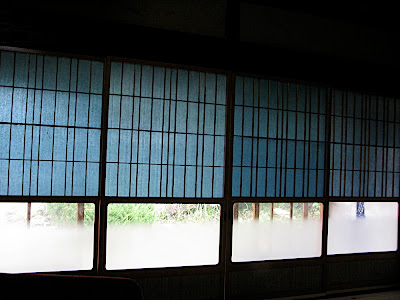
Tomo spent the week at the house doing paper work, and checking the kitchen progress while his two kids collected insects and frogs. He also managed to use these exquisite artist's washi (=Japanese paper), for our Shoji.

This one is blue, but we have the other side in green.


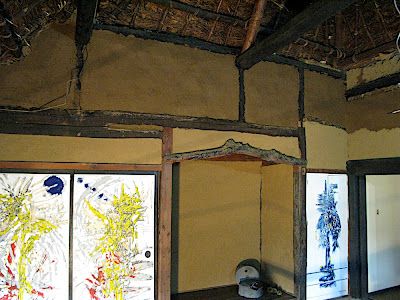
He passed the baton on to me, and I went again at my normal occupation - the preparation, application and finishing of mud-walls (again!).

The weather was on Saturday, so I first created adobe bricks to fill the special heat storing wall segment. Last time I made a start on it, but ran out of material. So on Saturday I made 24 bricks, which was three 20kg bags of sand and an nearly same amount in volume of red earth. My back muscles bear witness to the magnitude of the task.


Later it started raining and kept doing so the whole Sunday. But fortunately the DIY market had the Silica sand in stock, that is key ingredient of the finish wall layer. Despite the rain and the absence of volunteer helpers, I mixed up with pulverised straw, clay, a lot of silica sand and worked from 06:00h till 16:00h nearly without break.

I managed to finish 5 panels on the western side (darker coloured patches), covering the cracked and smoke blackened original wall, as well as one of our new wall panels (not shown on photo). The quantities of sand and clay should be chosen such that the clay merely makes the sand sticky. The trowel, then pushes the sand over the wall, evening out bumps. The straw prevents cracking. With a helper, the remaining panels should be finish-able within one day.

Wednesday, 23 July 2008

An easy start turns into heavy lifting

I picked up Hideaki and Kazuha and drove up Friday evening. The traffic was not too bad, and so we were able to buy some essential materials for the weekend's work, like silica sand, extra trowels and shovels.

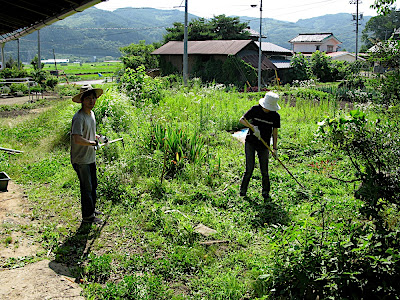
We started off the next morning by preparing the wild and overgrown garden for mud mixing. The two volunteers vigourously hacked at the weeds and creepers to create a nice clearing. Thanks to the safety training and precautions no one got cut!


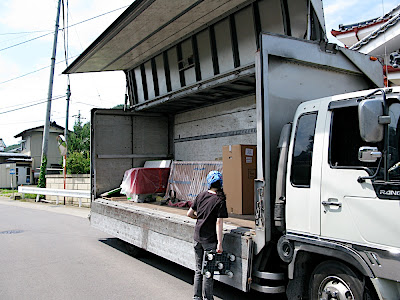
This tranquil start to the weekend was not there to last, as we were interrupted by the arrival of the magnificent Huelsta (http://www.huelsta.jp/)furniture. The lorry was too large to come up to the house, so high quality furniture had to be moved over 150 yards to the house. Of course the truck was only staffed by one tiny guy, so that it was up to US to move it!!


Our reward was the first rest on the comfortable sofa.

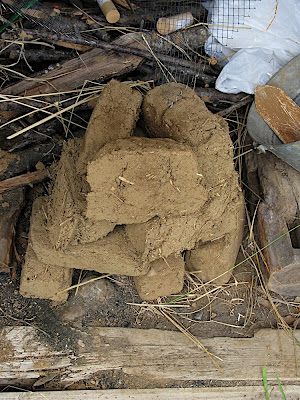
PeterA called up from the station, and after fetching him we were able to get going on the mud work. Filled out the remaining panels, and created some more mud bricks. We estimate that we need about 24 to fill the space in the wall, so still a few more to do. The brick with the funny shape is PeterA's work by the way.